Everyone knows that Drywalls are the best choice for their interior, and they can resist fire, moisture, mold, and even be better in soundproofing.
Priming before you paint your drywalls is crucial. You know, giving your space a fresh coat of paint is exciting, and it’s tempting to grab a brush or roller and jump right in, but one of the most important first steps is to prime before painting. You know there are several situations where priming is essential.
Now that you have a great smooth surface learn how to prime to keep that great look protected. A good coating of Primer, the right paint, and the right technique will make your job look spectacular!
Table of Contents
ToggleWhy do you have to prime drywall?
- Well, first and foremost, priming will always ensure excellent adhesion of the paint to the surface think of it as a magnet for your finished paint, you know.
- Priming is commonly used to cover dark colors to make it easier for the finish coat to hide better; adding some tint to the
- Primer will help the finish coat cover better.
- Another reason the prime is when you’re painting walls with a high gloss finish or painting very smooth surfaces such as cabinets or shelves, lightly sanding these surfaces and priming them will provide the best possible adhesion.
- Priming patched areas is also good practice; this allows the finished coat to dry to a uniform sheen. If patched areas are not prime, the finished coat will look dull over those spots, and this occurs because the repairs are not properly sealed.
- And lastly, priming stains caused by writing water or smoke damage is critical priming these types of stains first will prevent them from bleeding through to the finished coat.
- You can’t go wrong with an excellent multipurpose primer, which provides excellent adhesion, seals repair well, blocks most stains, and provides excellent coverage.
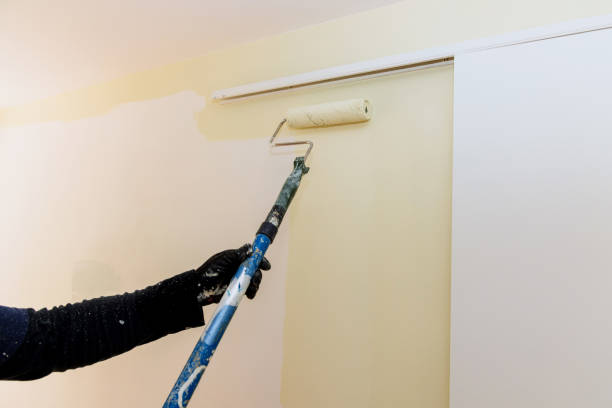
Is one coat of Primer enough?
The things you’re going to need.
- A can of Primer you’re going to need
- A roller handle and
- Roller sleeve
- A roller trays
Now to answer the question is one coat of Primer enough. Usually, I find one coat of Primer is plenty the problem you get into is if you’re painting a dark color over a white primer, you end up having to use more coats of paint than you would. So, what you’re going to do is look for a tinted primer. You can go to any of the major stores’ major paint suppliers, and they carry Primer that they can tint. So, you get it as close to the color that you’re going to paint. That way, your finished product will look so much better, but to answer the question, is one coat of Primer enough. Yes, I think one coat of Primer is enough in 99% of situations.
Always, if it’s time to redecorate, a little extra time priming your walls can help you paint like a pro!
Step 1: Decide if your walls need priming.
Assess your walls. Patched, sanded, stained, bare wood, and darker-color painted need priming. Primer also works well if you are applying latex paint over an oil-based coat.
Tip
When priming your walls, keep a window or door open so fumes can escape.
Step 2: Choose Primer
Choose between latex and oil-based Primer. Latex primer is an inexpensive, all-purpose choice. Choose an oil-based primer if you have a dark stain and are opting for a lighter paint color.
Step 3: Shade primer
Bring your paint-color sample when purchasing Primer. Primers are white, but tinted ones are available to match your topcoat.
Step 4: Apply Primer
Lay down the drop cloths, and apply the Primer with a brush, a roller, or paint sprayer.
Tip
Spot troubled is to avoid painting the entire wall.
Step 5: Let the Primer dry.
Let the Primer dry for 24 hours. Dry time will depend on the type of Primer used, if the walls are porous or sealed and if the room is hot or humid.
Step 6: Paint Follow up with a great paint job.
Did You Know? Latex paint is water-based, with the paint itself forming minuscule droplets in the water.
Importance of Priming your New Drywall
After you’re done hanging drywall and all the seams are taped and finished, you need two coats of paint to give the wall its final appearance. Before you apply those, however, you need to seal the drywall and mud with Primer.
If you paint over fresh drywall with regular wall paint, you’ll have difficulty getting an even finish. You may get acceptable results by using self-priming wall paint. Drywall primer is not the same as paint. Its main ingredient is polyvinyl acetate (PVA), the same ingredient in the carpenter’s glue. Its job is to seal the porous surfaces of the paper and dried joint compound and make them more receptive to new paint.
The PVA in the Primer adheres better to unfinished drywall than does paint, and paint adheres better to Primer than it does to drywall.
Priming Drywalls Saves your Money!
Primer comes in various grades, and a high-build variety fills in small nicks and ridges in the joints better than paint, giving the wall a smoother overall appearance. It’s tempting to try to save money by applying two coats of regular latex Drywall paint as an alternative to using Primer.
The first coat is bound to soak in because the latex binder isn’t as strong as PVA. It also doesn’t form the thin, adhesive film that PVA does, so the second coat is also likely to soak into the porous joint compound. The result is an uneven paint job that will probably need a third coat. Unfortunately, paint is more expensive than Primer, so you haven’t saved any money by going this route. Instead, you probably will end up spending more.
Drywall primer
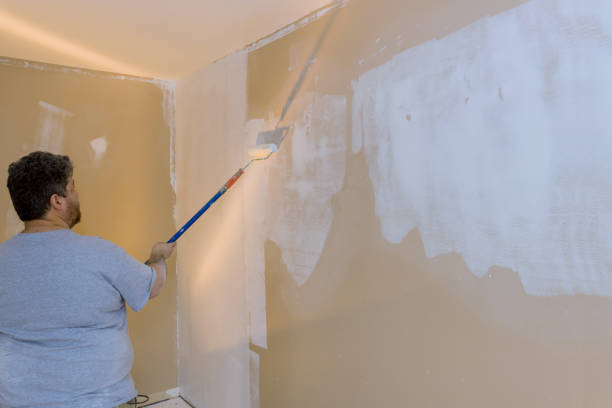
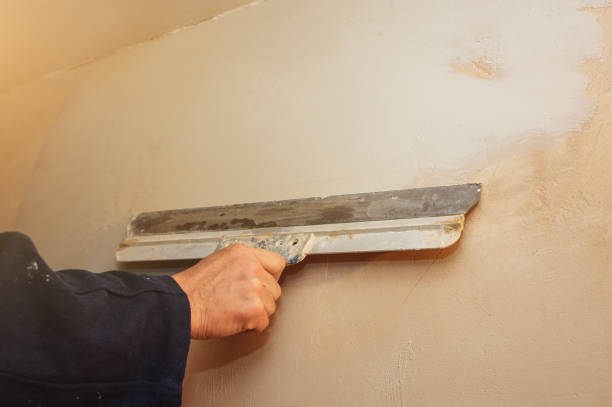
After you’re done hanging drywall and all the seams are taped and finished, you need two coats of paint to give the wall its final appearance. Before you apply those, however, you need to seal the drywall and mud with Primer. If you paint over fresh drywall with regular wall paint, you’ll have difficulty getting an even finish. You may get acceptable results by using self-priming wall paint. Drywall primer is not the same as paint. Its main ingredient is polyvinyl acetate (PVA), the same ingredient in the carpenter’s glue. Its job is to seal the porous surfaces of the paper and dried joint compound and make them more receptive to new paint. The PVA in the Primer adheres better to unfinished drywall than does paint, and paint adheres better to Primer than it does to drywall.
Q&A About Painting Your Drywalls
How long should you wait between coats of paint?
Two to four hours paint that isn’t allowed to dry before applying a second coat is likely to peel streak clump or flake when dry. Experts recommend leaving a minimum of two to four hours of drying time between each coat for best results.
Are three coats of paint too much?
Three coats in this last scenario, three coats would be the absolute minimum number needed. This most labor-intensive case is when you are painting a light color over an existing dark color.
What happens if you paint a second coat too soon?
Applying a second coat too soon can ruin your entire paint job by not allowing enough time for the first layer of paint to dry before adding a second coat. Check the instructions on your paint can for a suggested dry time, and if you’re still unsure, give it 24 hours.
What happens if you don’t let the paint dry between coats?
If you’re using an oil-based interior paint, it is often best to wait 24 hours between coats. If you apply your second coat of paint too soon, the paint may pull up as you roll, which results in streaks peeling and uneven color.
Can I paint over old paint?
If the wall is in good condition and the paints are chemically the same, both latexes. For instance, you have a few options when the new paint is the opposite shade of the old paint. you can use a primer to cover the old color thoroughly, then apply one or two coats of the new paint.
How many coats of paint is too much?
The general rule is that you should use two coats of paint. However, this rule changes based on the color quality of the paint you use, whether or not you used Primer, and the type of surface you’re painting.
Prime Your Drywalls professionally!
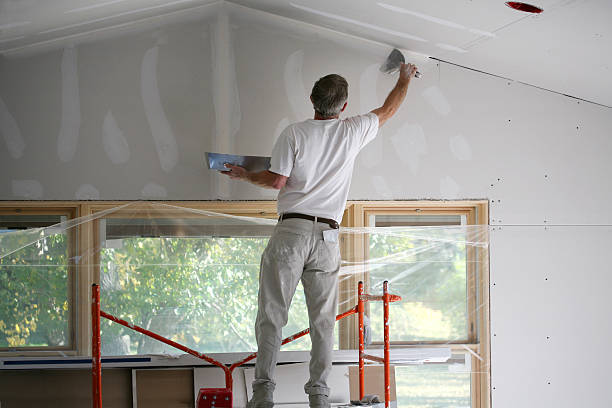
Adding Primer before painting allows the paint to adhere to a uniform finish. It’s a simple way to achieve professional results on your next paint project
here’s what you’ll need
- latex primer is considered an all-purpose primer and easily cleans up with water
- Oil-based Primer is better for blocking stains and covering wood surfaces.
- A gallon of Primer will cover 250 to 400 square feet of a surface. Not only that, but Primer is also typically less expensive than paint. Using Primer instead of several coats of new paint may lower the cost of your paint job. Make sure to move your furniture out of or to the center of the room. Cover the floors and furniture with drop cloths.
- use painters’ tape to mask molding trim windows and the ceiling to prepare the wall remove outlets HVAC registers nails and other hardware
- Use caulk or lightweight spackling compound to fill and repair holes remove the excess baffle with a putty knife.
- Let it dry and smooth it out with a sanding block. Then wipe the walls clean with a damp towel. It’s difficult for dry brushes and rollers to absorb Primer. If using latex primer, use water to dampen rollers and brushes.
- For oil-based primers, use paint thinner or mineral spirits to squeeze or roll out excess. Next, prepare your Primer, stir, and pour Primer into the paint tray. Begin priming by cutting in. cutting in is outlining the wall with a two-to-three-inch band around the edges. Use a two-inch angled brush to apply Primer in all corners or places where walls molding and ceilings meet.
- Now you’re ready to prime the wall, start with a single vertical stripe at the cut in the corner. Apply in three-by-three-foot sections working top to bottom in a series of v or w patterns until covered.
- Move from one side to the other and always overlap wet areas. If a second coat is needed, wait until the first coat is completely dry.
- After the Primer dries, lightly sand away bumps and ridges using a fine-grit sandpaper or sanding block. Wipe the wall clean with a damp towel. Priming a wall is the first step to getting great results for your next paint project.
Skyway Drywall Repair - The Expert Drywall Service in St Petersburg, FL
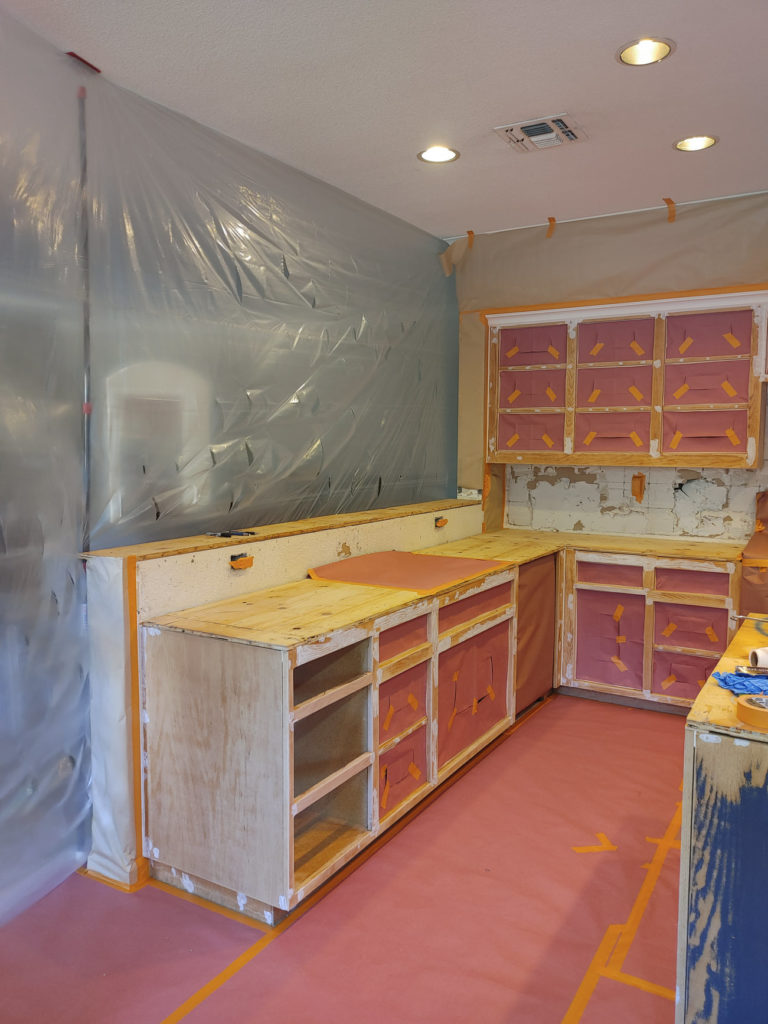
When you choose Skyway Drywall Repair Service for your home’s drywall and ceiling repairs, you can expect professional service, efficient work, and high-quality results every time. Experts at professionally patching any damage that occurs to your drywall. Skyway Professionals respect your home and treat it with the same care and consideration that we give to our own. That means fully covering our work areas, protecting your furniture and floors, and cleaning up any dust or debris once the repair work is complete.
Skyway Drywall offers a group of technicians with complete knowledge from drywall installation to painting needs. No matter how big or small the dent, ding, or hole, we diligently follow each step in our process to repair the damage in a way that leaves you with a flawless finish. Call Skyway Expert Drywall Repair. Seamless Patches, Superior Service.

